Important Parking Notice
Please be aware that our landlord will be ticketing in our lot during mid-day classes and could be distributing tickets as early as 7am and as late as 5:30am for the spaces that have the red parking signs. You do not need a parking pass to park in the CrossFit Southie spots, and parking along the fence and in the vacant lot next door is not being restricted for now. Street parking is also free! Thank you for your cooperation and understanding.
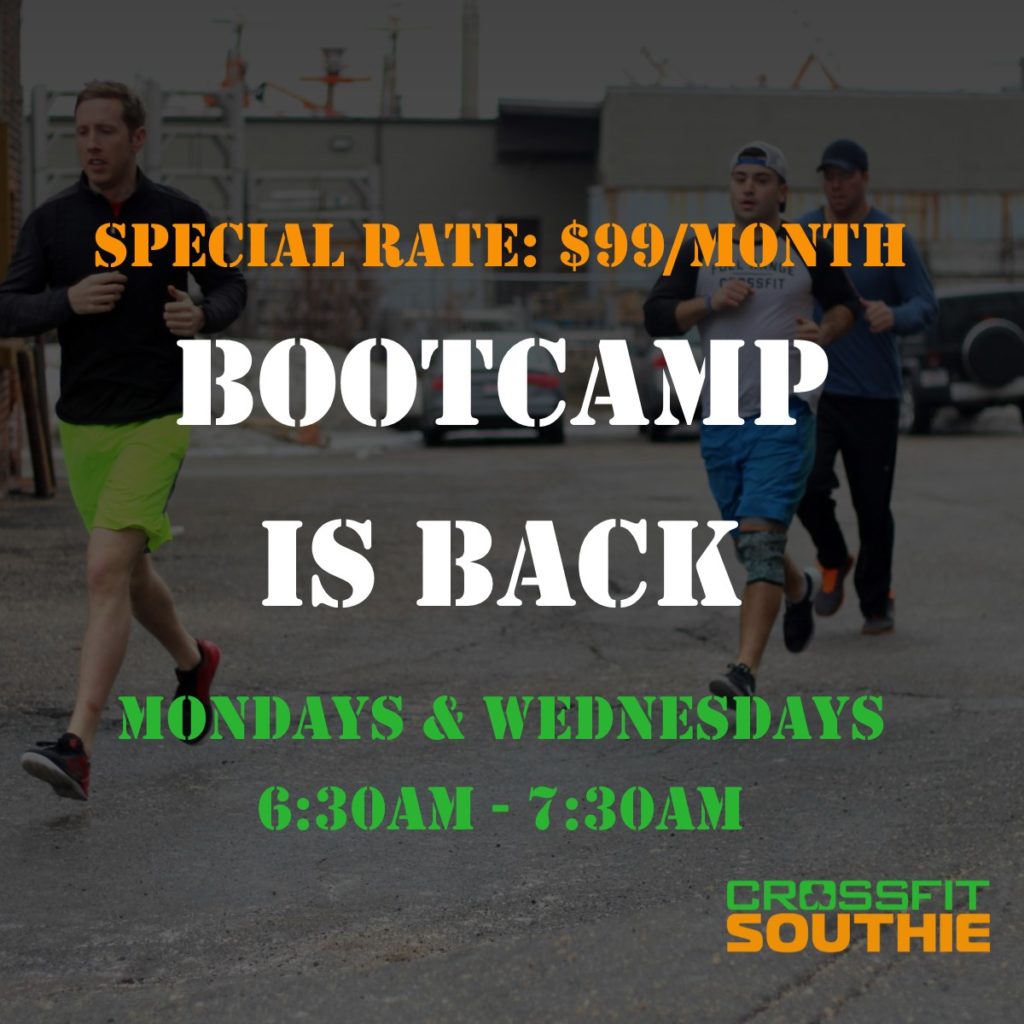
November Bootcamp!
Mondays & Wednesdays, 6:30AM – 7:30AM
Special Rate: $99/month!
Registration for our November Bootcamp session is now open!!! This program is great for weight loss, extra conditioning training, or as a ramp-up for our general CrossFit program!
Monday classes will focus on conditioning and endurance, with a heavy focus on interval training. We will run, row, bike, ski erg, jump rope, etc. Wednesday classes will still focus on conditioning, but will incorporate dumbbells, kettlebells, bodyweight exercises and more. There will be no barbells or high-skill gymnastics.
For more information or to sign up, click HERE!

Decoding The Erg Screen
Check out some helpful information from Goose on how to decode your Erg Screen!
Your time elapsed is the first number shown here and dictates how long you have been rowing for. In this case the athlete has been on the rower for 5:30.
The split is the number in front of the /500m. Your split changes with every pull of the chain and is essentially your pace. Here you can see it see it is at 1:45. This means if you were to keep up your current pace you would finish 500m in 1:45. For longer distances you can do the math yourself. For 1000m this pace would take you 3:30, 2k would be 7:00 and so on and so on. On a longer row your split should be higher to allow you to maintain your pace. On a shorter row, you can push the pace a little bit resulting in a lower average split time.
The current distance traveled can be found on the screen in meters. It essentially lets you know how far you have gone during your piece. Here the athlete has traveled 1008m.
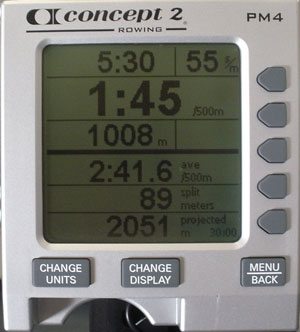
The s/m (strokes per minute) is often overlooked but can be very important and will vary depending on the length of your row/workout. It can be found here in the upper right corner of the screen as 55. If you have ever witnessed someone rowing on the water you will notice that they perform long even strokes that take about one second on the way out, they then take their time to recover, about 2 seconds on the return, to ensure that the get the hardest most efficient pull possible. This typically translates to a s/m of 25-30 and puts a high demand on the legs. Maintaining this s/m will be of the utmost importance to maintain form, efficiency and to prevent the athlete from gassing out prematurely in longer rows/workouts. In sprint workouts, less than 500m, you may find that you can complete the task before the anaerobic/aerobic pain sets in. As a result, during these sprints the s/m may venture higher than the 30 standard. The higher you go on the strokes per minute, the less efficient your pull becomes, the less you use your legs and the more likely you are to lose your breath before your legs get tired.
The force curve changes with each stroke and displays two important concepts:
1. When you are providing power to the chain during your stroke.
2. How much total power you are providing over the course of the stroke.
The force stroke is not pictured above. An ideal force curve is a left-leaning parabola without any abrupt spikes. It displays an early drive from the hips and hamstrings with distributed power throughout the stroke. If your curve looks like a tee-pee or a graph of ups and downs in the stock market, your pull is not consistent and could use some work to improve efficiency. Remember, efficiency is cool.. it means less work. Make sure you are getting tight, driving with your legs and pulling evenly throughout instead of just yanking on the chain.
Secondly, the total area under the curve is going to demonstrate the power you applied over the course of a stroke, which is going to determine the distance traveled and calories of work. A long, high-arching parabola, with lots of area underneath it, is ideal and will mean more distance and more calories. A low-lying curve would mean less power and not as much distance traveled.
Use these tools to work on the efficiency of your pull. In the next segment, we will discuss using power 5’s and power 10’s to get through the agony of longer lower intervals and set some new PRs!
Warm-Up
Partner Up!
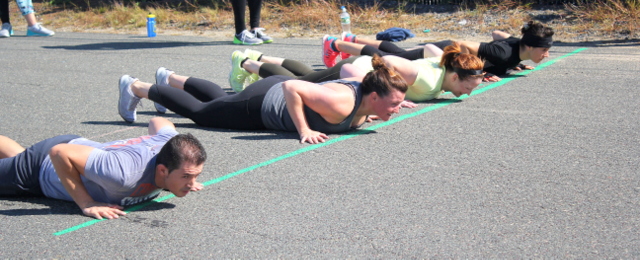
P1- 40/30 Cal Row
P2- Plank Hold
Strength
Elevator Front Squat
2-2-2-2-2
WOD
75/60 Calorie Row
75 Wallballs (20,14)
75/60 Calorie Row
Level 2- (14,10)
Level 1- 50/40, cals, 50 reps, 14,10lb ball
Coaches Note: Go into the workout aiming to have the same pace for each row.
Extra Work
4 Rounds of
50ft HS walk
50ft Oh Walk 1.5/1 each hand
50ft Front rack walking lunges
50ft Farmers Carry